SMS Alerts
- Chandler Berry
This page will go through the process of creating a Twilio account, and where to get the information that VitalSigns needs to send SMS alerts.
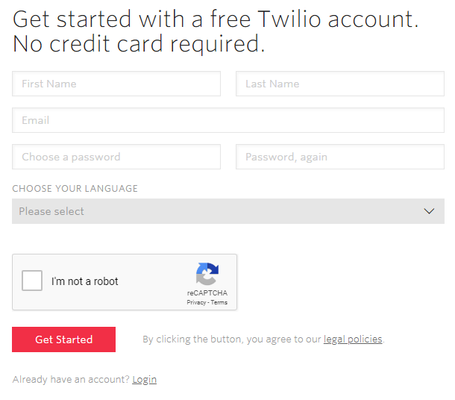
Account Creation
To start, a Twilio account must be created at: https://www.twilio.com/try-twilio
- The account creation requires several things:
- First/Last Name
- Email Address
- A password with a minimum length of 14 characters
- A choice of Programming languages
- Completion of a CAPTCHA - Once the previous fields are filled, click Get Started.
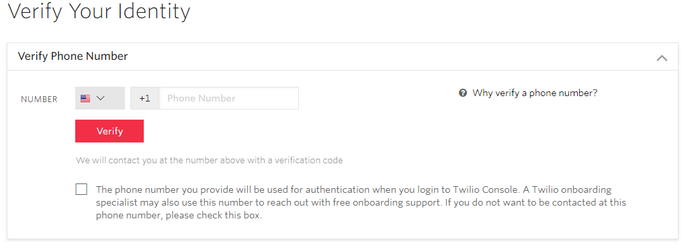
Account Verification
On this page, you will be asked to verify your account with a phone number. This phone number is used to send a verification code.
The checkbox below the Verify button tells Twilio that you do not wish to be contacted at the number that you provide.
Enter a suitable Phone number, and click Verify.
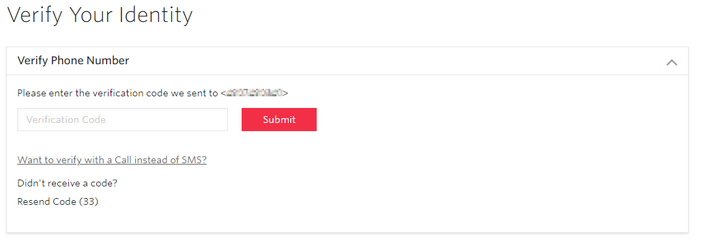
After the code is sent the page will change into the next page. This page has a field where you are to input the code that was texted to the number you provided.
You can also decide to verify through a phone call instead of SMS.
Enter the verification code, and click Submit.
Obtaining Account Information
Creating a Project
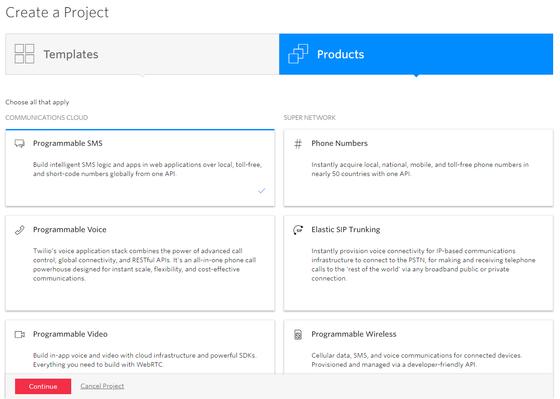
On the next page, you have the ability to create your first project.
There are two tabs on this page, one selects the Templates, the other the Products. While Twilio is an extremely powerful Text and Voice API, and has many full-featured Templates to choose from, for VitalSigns SMS Alerting we only need to select one Product, the Programmable SMS.
Select Programmable SMS from the Products tab, and click Continue.
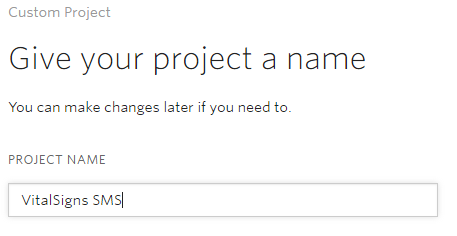
On this next page, you must name the Project. Any name will do, but perhaps something relating to VitalSigns?
Enter an appropriate Name for the Project, and click Continue.
Inviting other Users
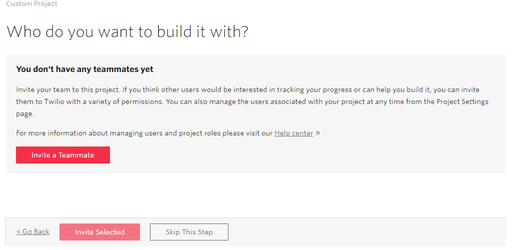
On this page, you can invite other Users to join the Twilio project.
In the case of VitalSigns, this could be helpful to have multiple Admins have access to Twilio for configuration of SMS alerts.
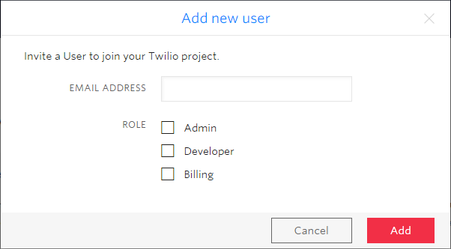
Click on Invite a Teammate, enter their Email Address and Role, then click Add.
This step is completely optional and can be skipped by the grey Skip This Step button at the bottom of this page.
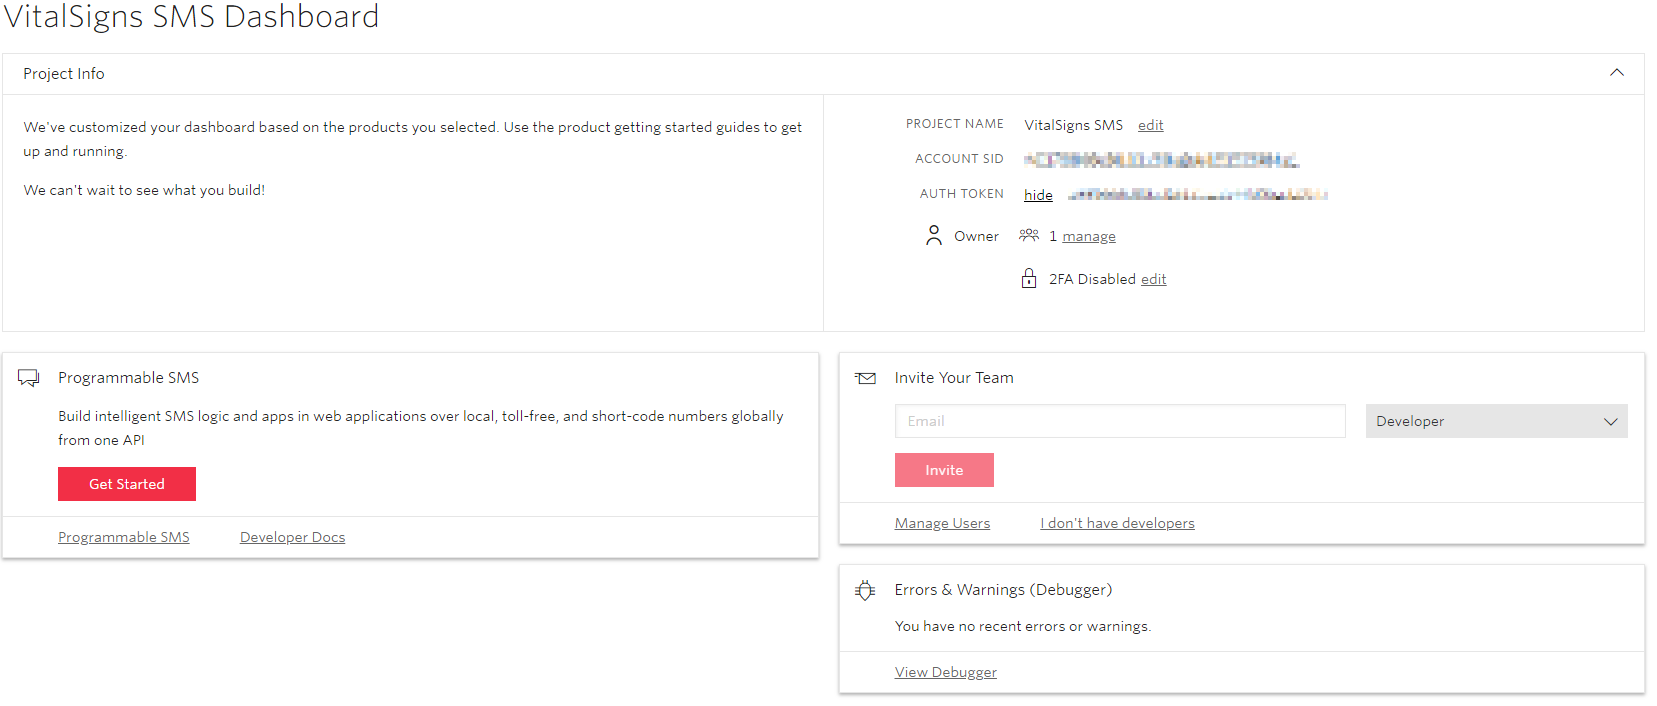
The Dashboard
This is the page where the Account SID and the Auth Token can be found, both of which are needed for VitalSigns SMS Alerts.
This page can also be used to view any issues that Twilio has had recently, and add users to the project; it is a homepage for Twilio so to speak.
To view the Auth Token, you must first click on view.
Copy and paste both the Account SID and the Auth Token from this page into the VitalSigns Configurator.
The only Field left on the VitalSigns SMS Alerts Configurator is the Phone Number From field.
By default, this type of Twilio project does not come with a Phone number, to get one assigned we must continue to the next page.
Click on the Get Started button to continue.
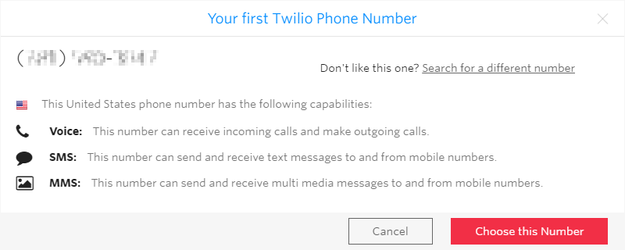
Getting a Phone Number
Like previously stated, most Twilio project don't come pre-configured with phone numbers, so we will have to generate one.
Click the Get a number button.
On the window that pops up, your generated Phone number will be displayed. If this phone number is not to your liking you can click on Search for a different number.
Most likely, the phone number that is generated will be fine, so clicking on the Choose this Number will save the number into the system.
This number is what should be copy-pasted into the Phone Number From field on the VitalSigns SMS Alert Configurator.