Securing VitalSigns with HTTPS
- Chandler Berry
This step is completely optional, as VitalSigns is correctly configured with HTTP out of the box. If additional security is wanted or needed, adding HTTPS is a good option..
Step 1: Generating a Self-Signed SSL Certificate
This step uses IIS 7 to generate the SSL certificate.
- Launch IIS Manager.
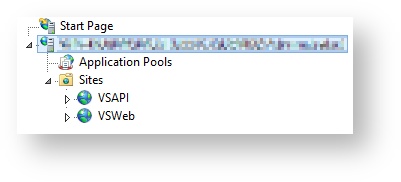
- Click on the VitalSigns server in the left-hand side list.
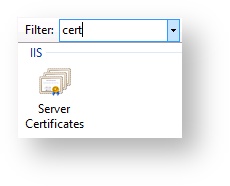
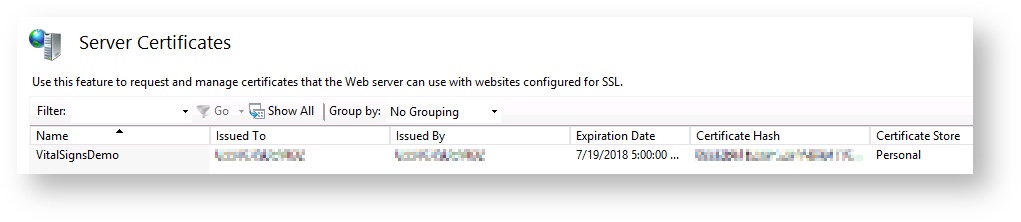
- In the IIS category open the Server Certificates page.
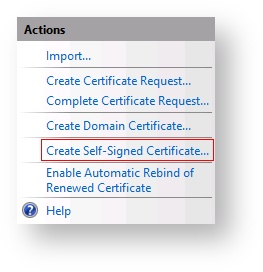
- In the Actions pane, click on Create Self-Signed Certificate.
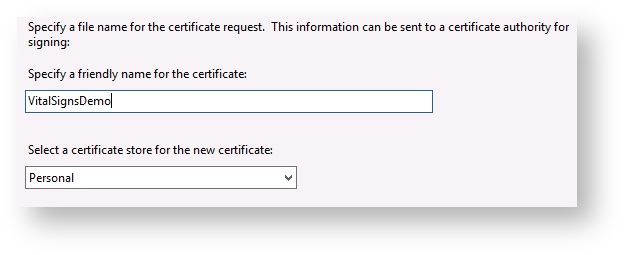
- Enter a name for the certificate in the Specify a friendly name for the certificate field. Select Personal for the certificate store, then click OK.
- The new certificate should now show up under the Server Certificates list.
Step 2: Setting up the VitalSigns sites in IIS to use HTTPS
- Launch IIS Manager.
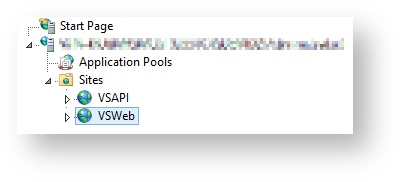
- Expand the VitalSigns server, then the Sites folder.
- Click on the VSWeb site.
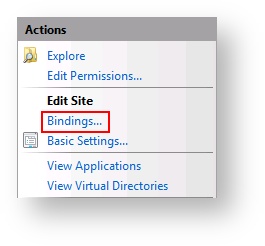
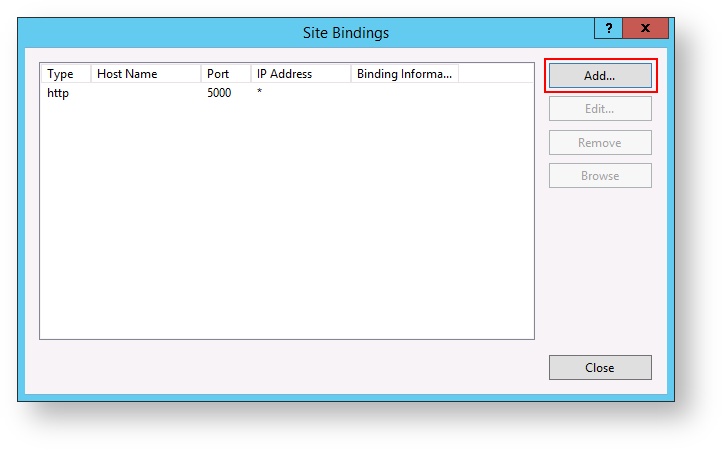
- In the Actions pane click the Bindings button.
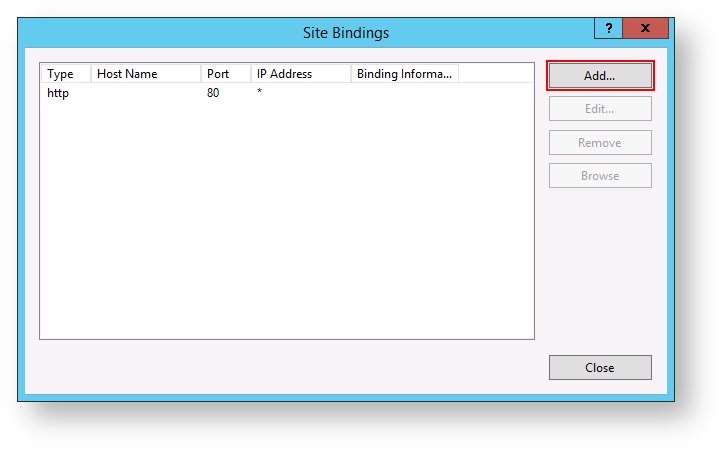
- Click the Add... button.
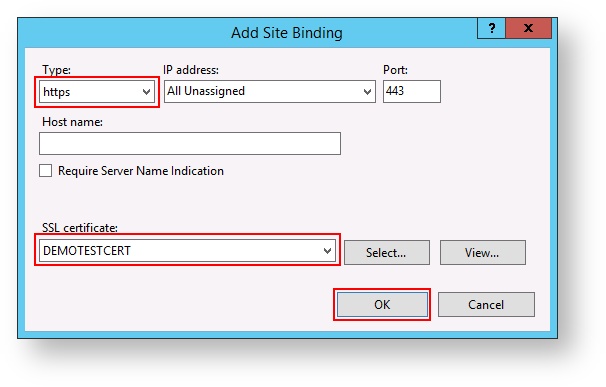
- Select https from the Type drop-down menu, and the SSL certificate created in Step 1 for the SSL certificate drop down, then click OK.
- Repeat steps 3-5 for the VSAPI site.
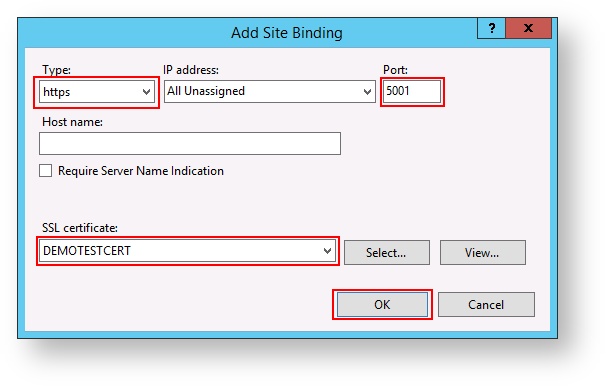
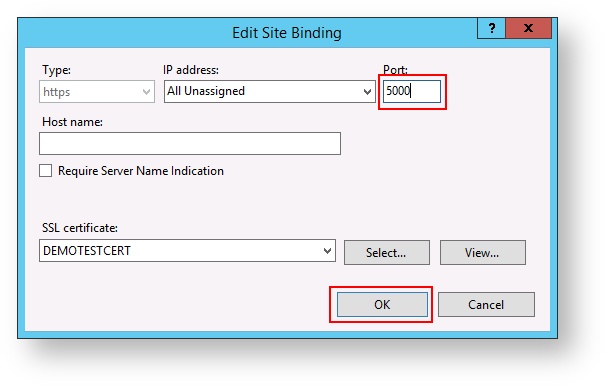
- Select https from the Type drop-down menu, and the SSL certificate created in Step 1 for the SSL certificate drop down, change the Port to 5001 then click OK.
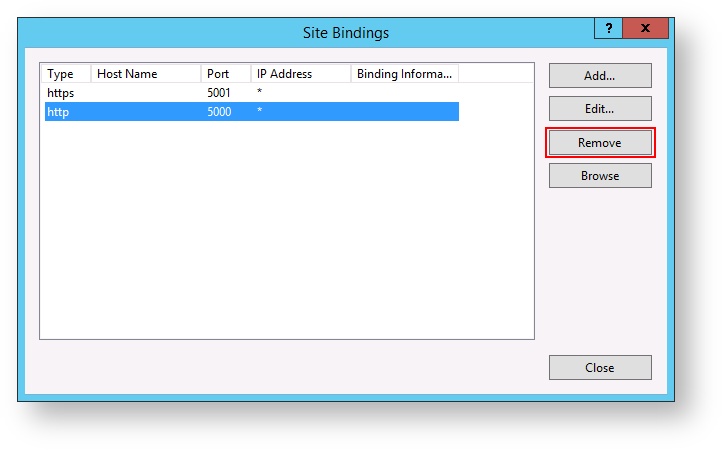
- Select the http binding on port 5000 and click the Remove button, then click Yes on the confirmation.
Click Edit on the https binding, and change the Port to 5000, then click OK.
IIS does not allow for a single port to be set for more than one binding, and must have a least one binding, so we have to add a https binding at an arbitrary port, then delete the http binding, then change the https binding's port to 5000.
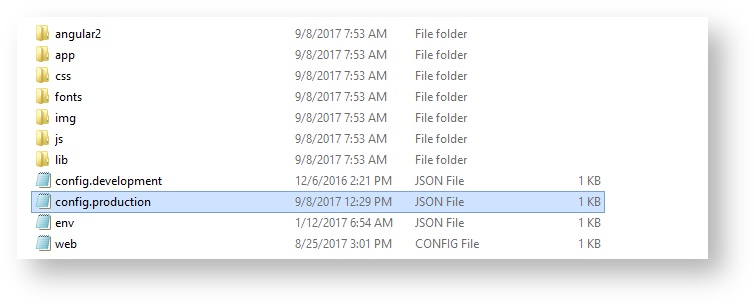
Using File Explorer navigate to the following directory:
C:\inetpub\wwwroot\VSWeb\wwwroot
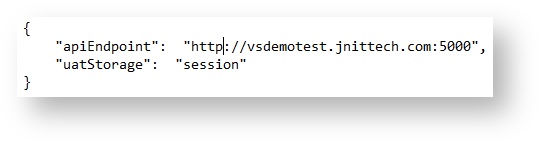
- Open the file config.production.json in a text editor like Notepad.
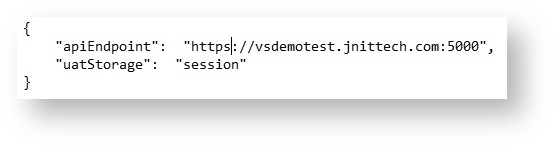
- On the second line where it says http, change it to https, and Save the file.
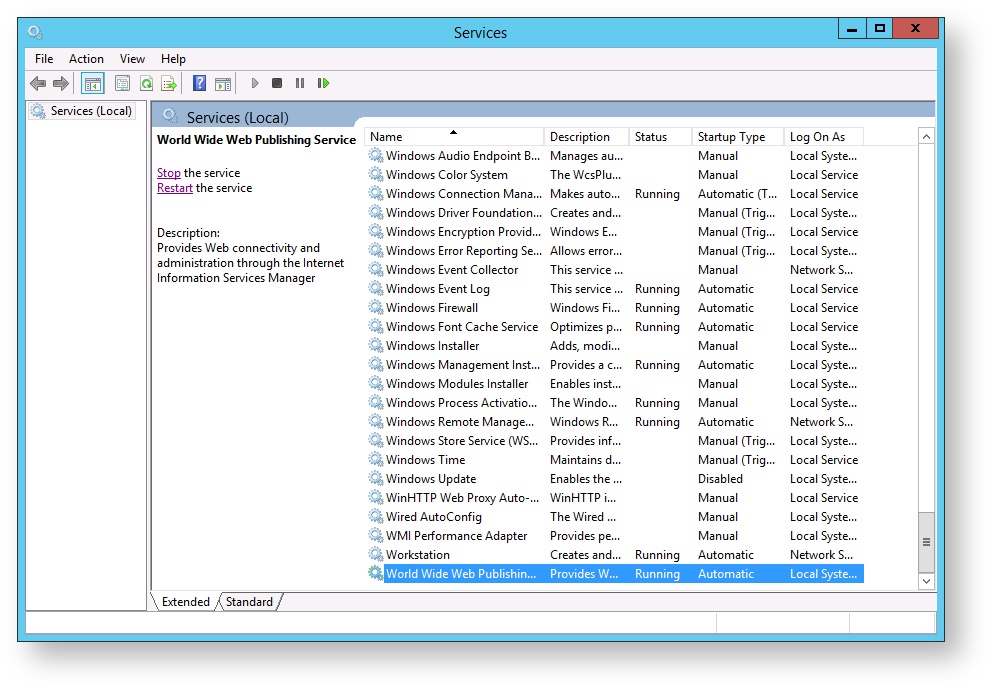
- Open the Services list and restart the MongoDB service and the World Wide Web Publishing service.
Visit the VitalSigns site on https://localhost/ or https://[hostname]/
The http version of the site will no longer work. It is recommended to set up a redirect.
Step 3: Setting up a redirect from the HTTP site. (Optional but recommended)
- Download and install the URL Rewrite extension for IIS at the IIS website here: https://www.iis.net/downloads/microsoft/url-rewrite
- Restart IIS.
Using File Explorer navigate to the following directory:
C:\inetpub\wwwroot\VSWeb\wwwroot
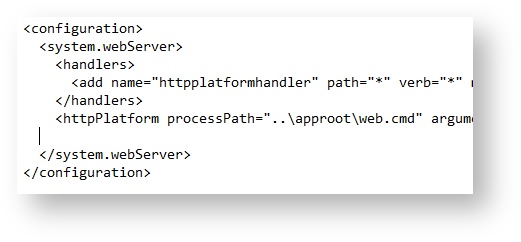
- Open the web.config in a text editor like Notepad.
- Create a blank line above the line that says this: </system.webServer>
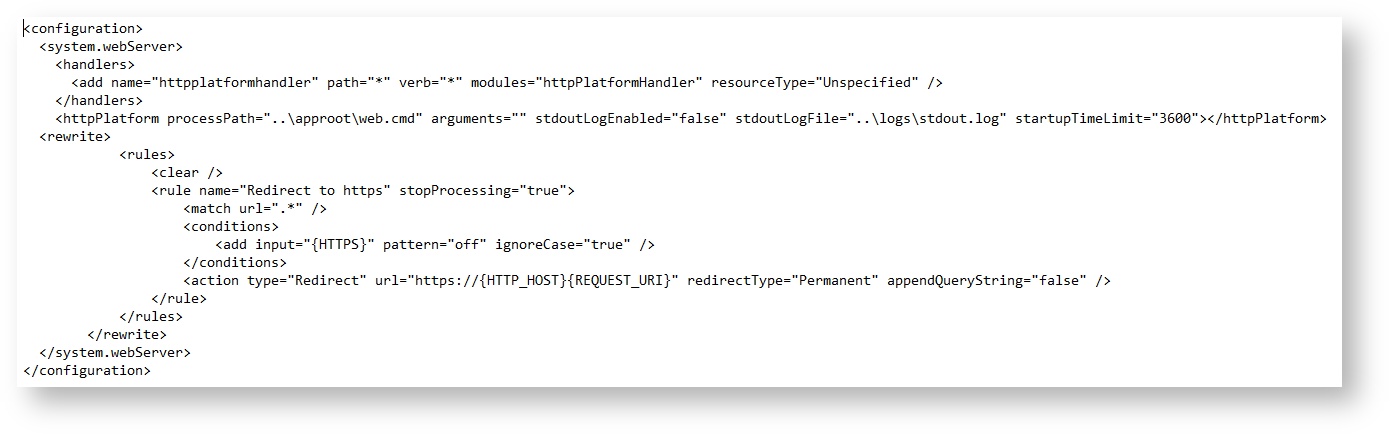
Paste the following into that blank line and Save:
<rewrite> <rules> <clear /> <rule name="Redirect to https" stopProcessing="true"> <match url=".*" /> <conditions> <add input="{HTTPS}" pattern="off" ignoreCase="true" /> </conditions> <action type="Redirect" url="https://{HTTP_HOST}{REQUEST_URI}" redirectType="Permanent" appendQueryString="false" /> </rule> </rules> </rewrite>- Open the Services list and restart the World Wide Web Publishing Service.
- Now when the page is attempted to be accessed through http on http://localhost or http://[hostname]/ the URL will be redirected to the https version instead.