Navigate to: Configurator » Alert Settings » Definitions tab
You can create alert definitions to receive a variety of alerts (i.e. dead mail, not responding, disk space low, etc.) pertaining to the overall status of your environment.
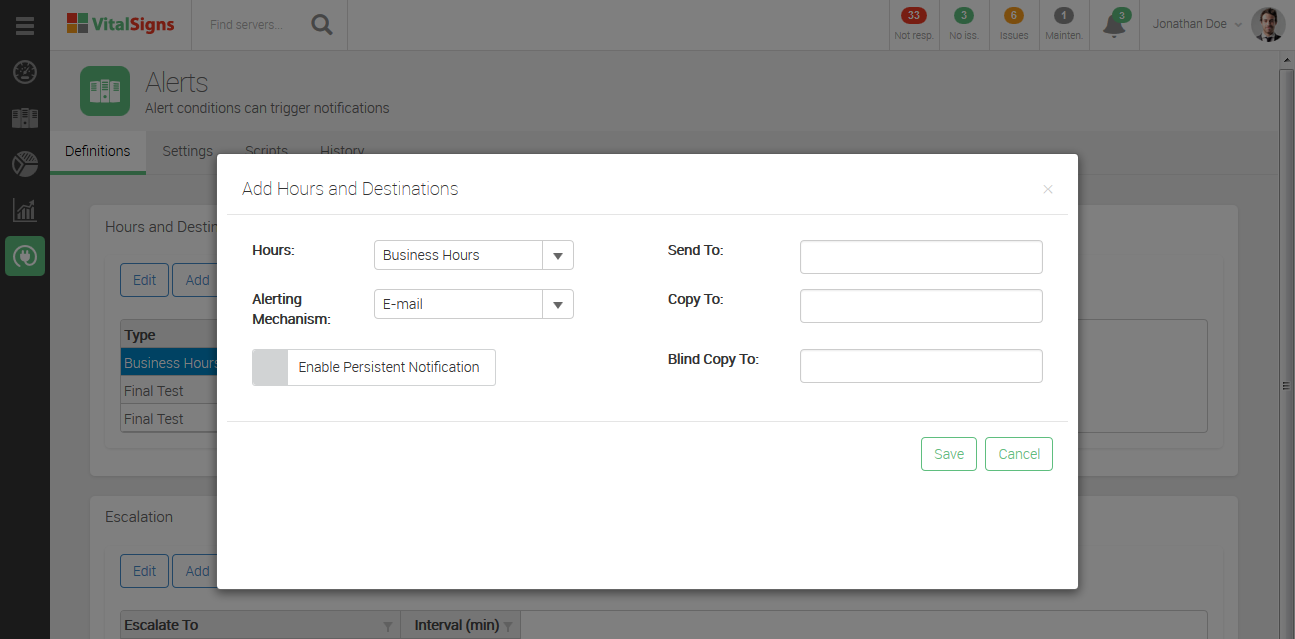
Step 1: Create Alert Hours and Destinations
- Click the Add button under Hours & Destinations.
Select the preferred hours of alerting:
Business Hours: Alerts will only be sent during the predefined business hours.
Other Entries: Alerts will only be sent during the predefined hours for that particular selection.
Select the preferred form of alerting from the Alerting Mechanism drop down list.
Enter the email address for which the alert will be sent.
You can enter an individual or group email address.
You can only enter one email address per text box.Check the box next to Enable Persistent Alerting to start receiving continuous alerts (optional).
You can enable persistent alerting to continuously inform you about a critical issue if the issue has not been resolved.- Click the Save button to save the settings.
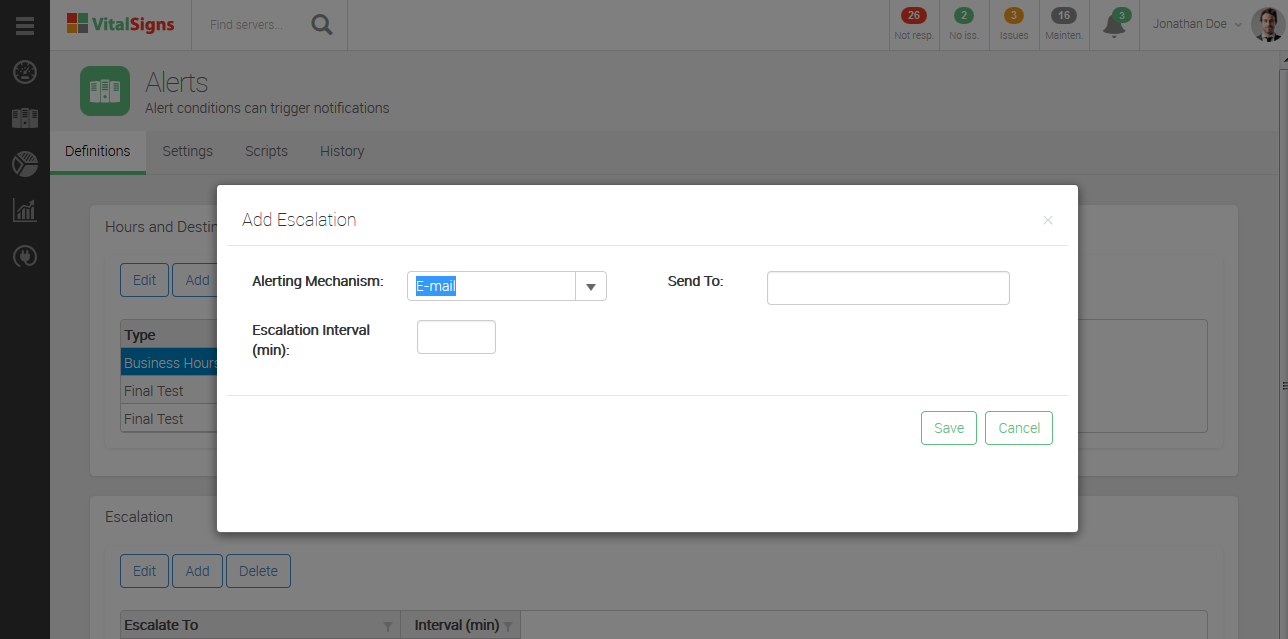
Step 2: Add Alert Escalation Settings (Optional)
- Click the Add button under Escalation.
- Select the preferred form of alerting from the Alerting Mechanism drop down list.
- Enter the email address for which the alert will be sent.
- Enter the amount of time in minutes you would like the Escalation Interval set at.
- Click the Save button to save the settings.
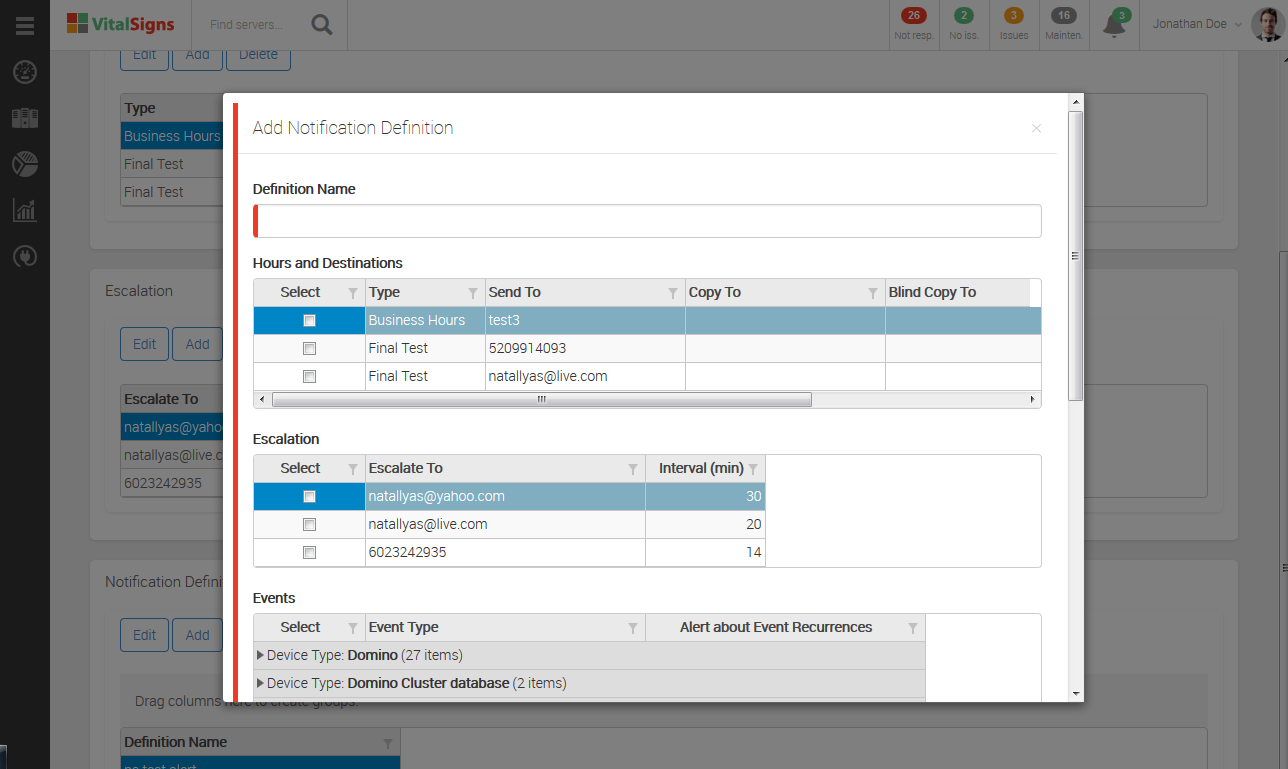
Step 3: Create Alert Notification Definition
- Enter a name (for reference) to define the alert.
- Select which alert hours you would like to apply to the alert.
- Select (if any) escalation settings you would like to apply to the alert.
- Expand the desired device type and select the Events for which you will be alerted.
- Check the box next to the Servers the events will apply to.
- Click the Save button to save the settings.