The Office365 functionality can be enabled for VitalSigns by following these simple steps.
Step 1
| Info |
|---|
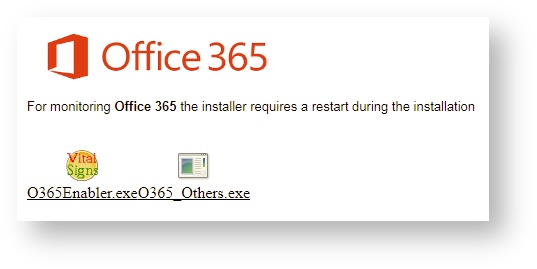
To monitor Office365 activities, the feature enablers must first be downloaded. |
- Go the VitalSigns Download Page.
- Locate the Feature Enablers (latest version) link and click to open.
- Scroll to the bottom of the page to locate the Office365 logo.

- Underneath the logo, locate and download two files:
O365Enabler.exe & O365_Others.exe - Run O365Enabler.exe first.
- Click Next
- Click I Agree
- Run O365_Others.exe
- Clicke Next
- Click I Agree
- Restart the System/VM for the changes to take effect.
Step 2
| Info |
|---|
The VitalSigns for Microsoft service must be enabled and started for Office 365 to be monitored. |
- Open up the Services application
- Scroll down to the VitalSigns services
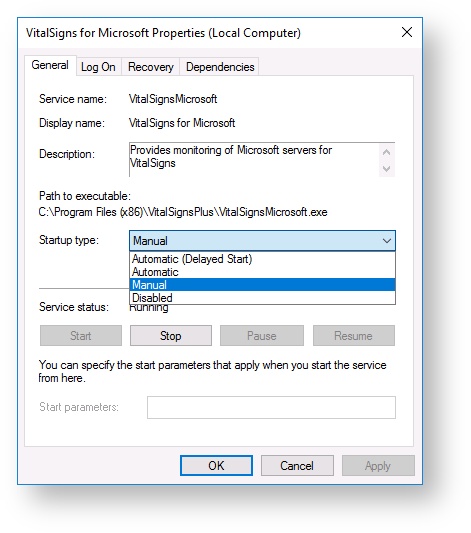
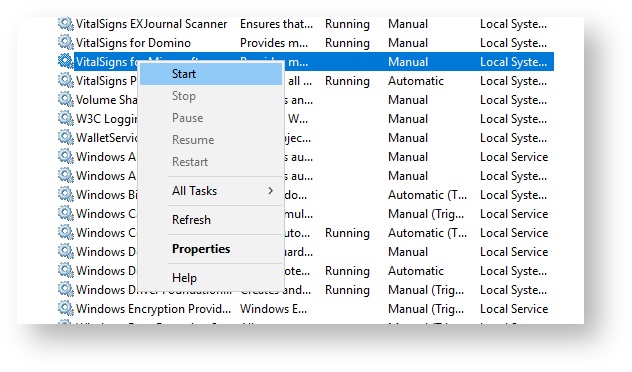
- Right click on the VitalSigns for Microsoft service, and click on the Properties option
- In the Startup type drop-down menu, select the Manual option
- Click OK
- Start the service
Step 3
| Info |
|---|
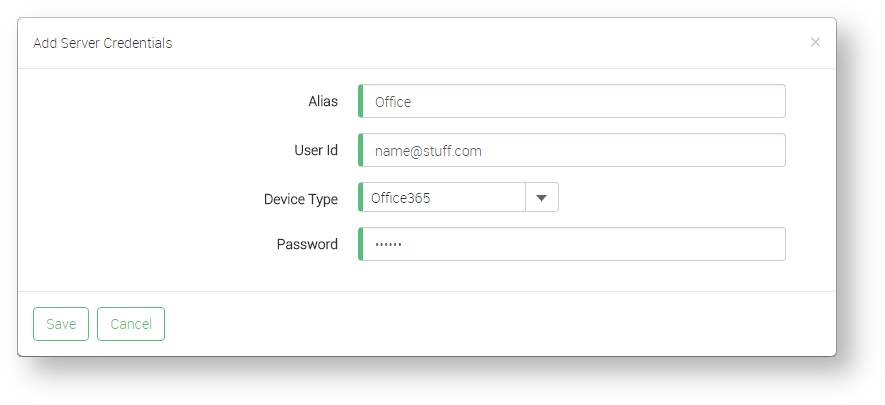
The credentials must be added Credentials for the Office365 environment you wish to monitor. |
- Navigate to the Credentials tab, on the Application Settings page, located in the Configurator navigation tab
- Click Add
- Enter in the credentials used to access Office 365
- Click Save
Step 4
| Info |
|---|
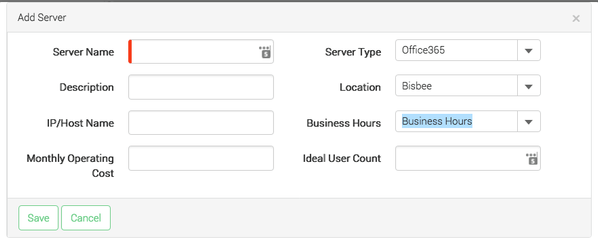
The Office365 server must be added to VitalSigns to be monitored. |
- Navigate to the Server List page, located in the Configurator navigation tab.
- Click the Add Server button
Fill out the server information
Warning It's assumed that at this point both a Location and Business Hours at some point. If this is not the case, a guide on how to do this can be found here: Location | Business Hours
Note In the IP field input a single space. Office365 monitoring does not require an IP, but the field needs at least one character to be submitted
- Click Save.
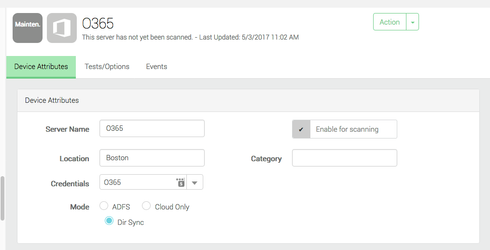
- Select the Server from the Server List and click Enable for scanning
- Scroll to the bottom of the Server Information page and click Save