The Alerts Settings page covers all the basic settings needed to get Alerts set up to use in the VitalSigns environment.
About the Alert Settings page
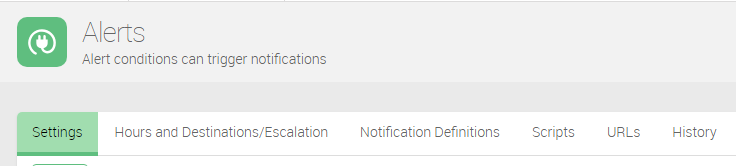
The Alert settings page has several tabs, all of which have different information and configuration options for the VitalSigns environment. The options and features for the Setting alone are enough to fill this tab, so the subsequent tabs will be covered in child pages here:
- Hours and Destinations/Escalation
- Notification Definitions
- Scripts
- URLs
- History
Alerting Options
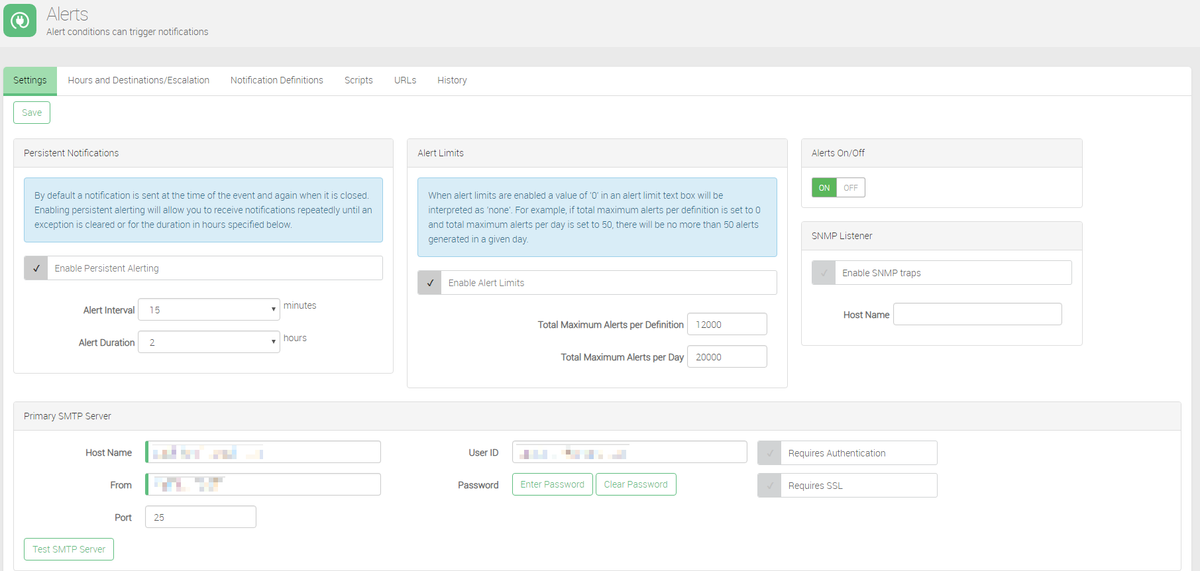
Persistent Notifications
Persistent Notifications send an alert repeatedly until the issue is resolved, based on the interval and duration set in this section.
| Expand | ||
|---|---|---|
| ||
|
Alert Limits
Alert Limits do what it says on the name, essentially. When enabled, a 0 in the field is read as "no limit". When VitalSigns sends the maximum amount, no more alerts will be sent out.
This feature is useful if there is a known periodic issue that produces many alerts.
| Expand | ||
|---|---|---|
| ||
|
Alerts On/Off
The Entire Alerting function of VitalSigns can be Enabled/Disabled with this option.
SNMP Listener
VitalSigns Alerts can be configured with SNMP traps, for further monitoring of Alerts functions.
| Expand | ||
|---|---|---|
| ||
|
| Tip |
|---|
To save any changes made on this page, the Save button at the bottom of the page must be clicked. |
E-mail Alerting
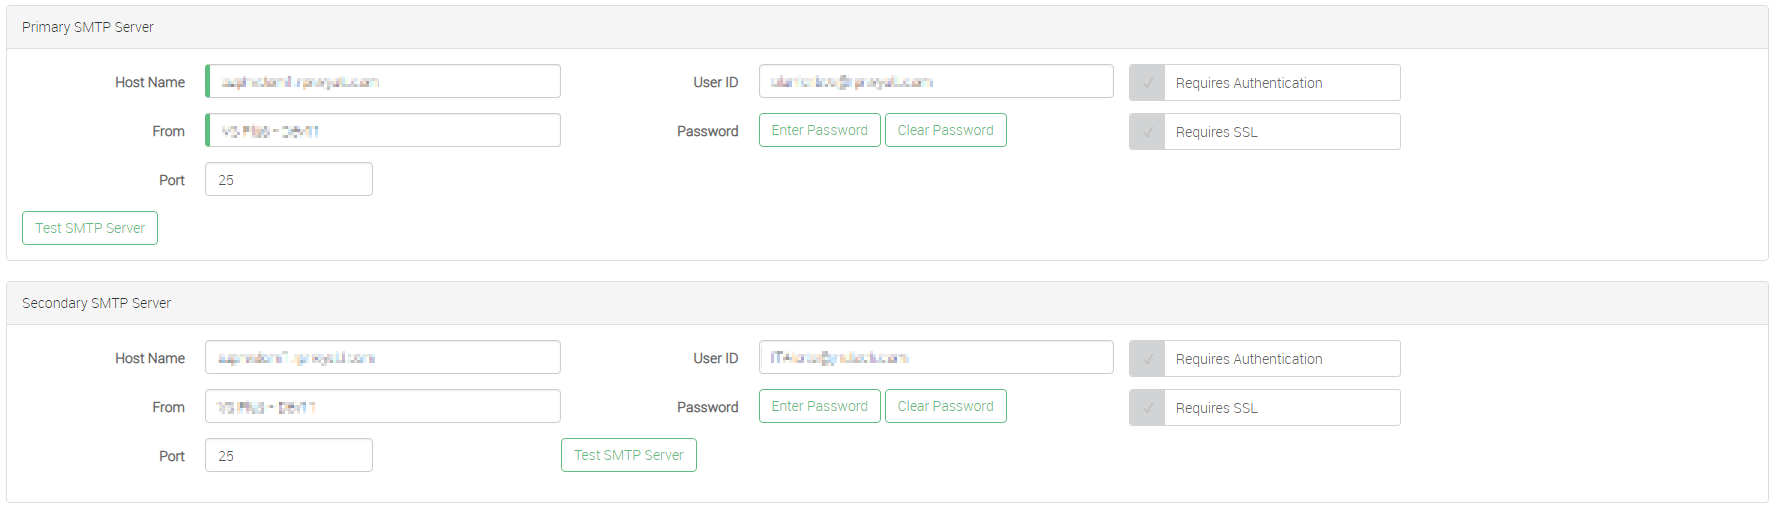
Adding a SMTP server is required for sending out Alerts, as it uses email to send them. A SMTP server is also required for adding new Users to VitalSigns, as VitalSigns send an email with the temp password on creation.
| Expand | ||
|---|---|---|
| ||
|
| Info |
|---|
You can enter a second SMTP server for failover under Secondary SMTP Server section. |
| Tip |
|---|
To save any changes made on this page, the Save button at the bottom of the page must be clicked. |
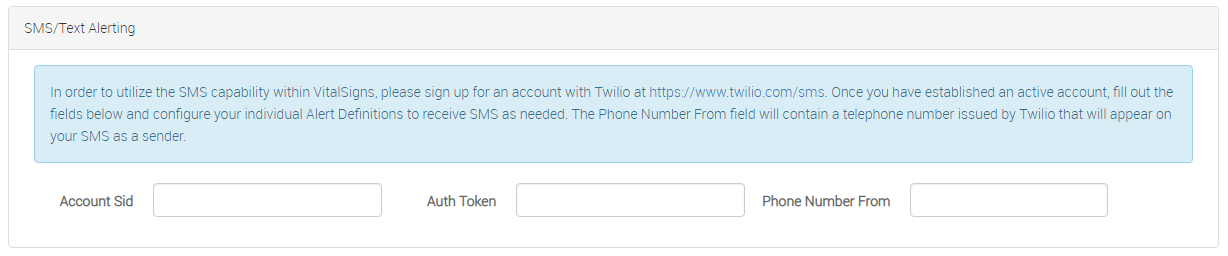
SMS/Text Alerting
VitalSigns can also send SMS Alerts directly to a Mobile Phone, by utilizing a free to start 3rd Party Service, Twilio. Through using Twilio, VitalSigns can send instant SMS Alerts, which are useful in case the SMTP server has gone down, and regular Alerts are unable to be sent.
| Expand | ||
|---|---|---|
| ||
|
| Tip |
|---|
To save any changes made on this page, the Save button at the bottom of the page must be clicked. |
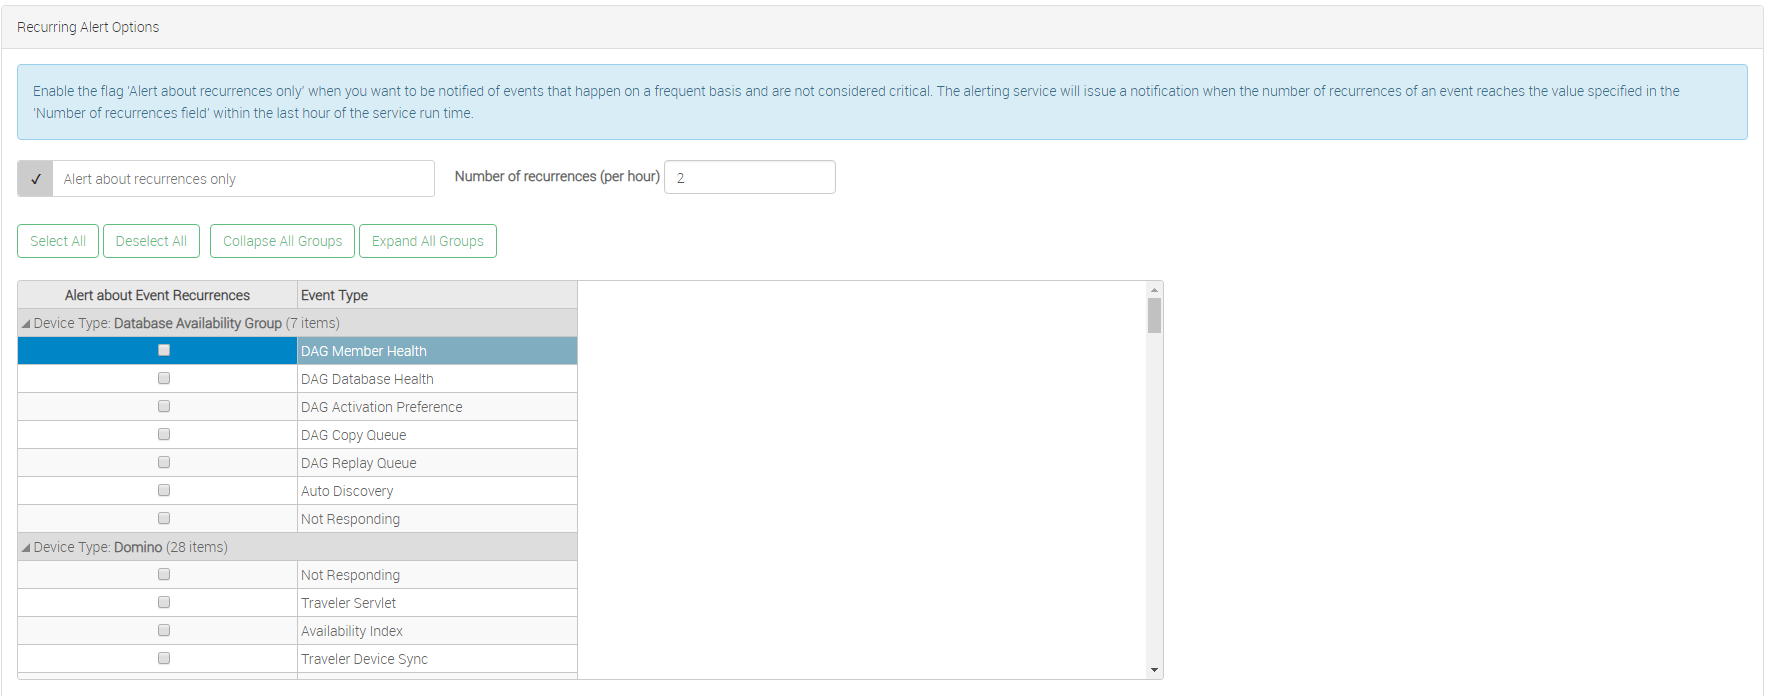
Recurring Alert Options
VitalSigns also has the ability to only send alerts about a server if the amount of Alerts are above a defined threshold. You can enable recurring alert options to prevent VitalSigns from constantly sending you alerts when an issue is not necessarily critical.
| Expand | ||
|---|---|---|
|
| Tip |
|---|
To save any changes made on this page, the Save button at the bottom of the page must be clicked. |
.